How to Install Aquabord Laminate Wall Panels
All Aquabords are hygienic, easy to keep clean, 100% waterproof, cost effective
and easy to install. They are suitable for installing in kitchens, bathrooms and
wet rooms, in fact in any environment commercial or domestic where you want
to a stylish way to protect your walls from water and moisture
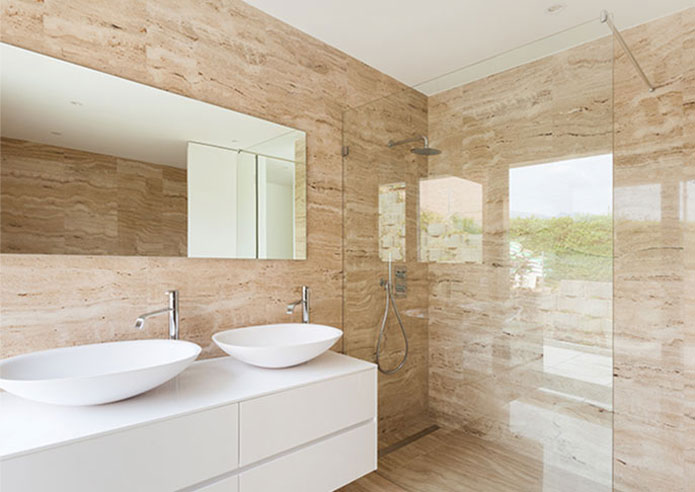
For demonstration purposes, here we will show you how to install plastic wall
panels in a shower room.
Getting Started
If you are considering installing Aquabord this guide will help to ensure your
project goes smoothly and that you get great results.
What You will need:
Panel adhesive – 2x290ml cartridges per panel + applicator gun
tape measure
square
drill
spirit level of plumb line
fine tooth saw
pencil
silicone sealant
wooden mallet and wooden block
1 : MEASURE
|
Seal the edge of the shower with silicone. If you are using PanSeal, measure and fit the PanSeal to the shower tray. Panseal is an optional extra trim that waterproofs the interface between shower tray and panel. If using Panseal refer to separate instructions otherwise go to Step 2. |
If you have any queries about the products you will need, please call our friendly team on 0114 279 9188 or contact us here. |
2: MEASURE & CUT
Measure and cut the corner section that will
run from the shower tray up to the ceiling.
Use a fine tooth saw or a strong pair of snips
to do this.
3 : APPLY ADHESIVE
Apply adhesive to the outer edges of the
corner section and fit in to place.
4 : MEASURE & CUT
Measure and cut the top trims that will sit
between the ceiling and the wall. Apply
adhesive and secure in place
5 : MARK THE WALL
Use your spirit level or plum line to mark
directly on the wall where the edge of the
Aquabord Panel will go – this is to guide
you where the adhesive needs to be
applied directly on to the wall.
6 : CUT THE BOARD
Measure the top, middle and bottom of the
wall including the shower tray and trim.
Using a pencil and marking the face of the
panel, transfer these measurements on to
the first section of Aquabord and cut to size
using a fine tooth saw.
7 : APPLY THE PANEL TO THE WALL
When you are happy that the wall panel fits
perfectly apply adhesive to the rebate of the
corner trim and a grid of adhesive across
the wall where the first wall panel will be
fitted before then offering the panel up to
the wall and smoothing out any air pockets.
8 : APPLY THE JOINT STRIP
Cut the side edge joint strip to the same
height as the panel, apply adhesive to the
outer edge of the joint strip and secure to
the wall, slotting it in to place behind the
wall panel.
9 : REPEAT THE PROCESS
Repeat this process along the remainder of
the left wall
Repeat the process along the right wall,
starting at the shower tray and working out.
10 : CUT THE CORNER TRIM
Cut the side edge joint strip to the same
height as the panel, apply adhesive to the
outer edge of the joint strip and secure to
the wall, slotting it in to place behind the
wall panel.
11 : CUT THE TOP TRIM
Cut the corner trim to the same height as the
board, apply a bead of silicone to the inside
of the trim and push it in to place until
silicone squeezes out.
12 : TAP JOINT TRIMS INTO PLACE
In the same way as you have for the corner
trim, measure and cut the top trim to the
desired length and using your mallet and
wooden block tap the trim in to place.
13 : FIT INTO PLACE
Measure and cut the joint trims and gently tap
them in to place using the wooden mallet
14 : USE SILICONE TO SEAL
Using silicone sealer, seal around the edge of
the shower tray and any pipes and fittings
and wipe off excess silicone with a warm
soapy cloth
To see a walk through of the process to
install Aquabord Plastic Wall Panels
watch the video below.
IPSL are the Uk’s largest supplier of hygienic wall cladding for commercial and domestic interiors